DIY Round Ottoman
I just finished another upholstery job, on a round ottoman I got from my local thrift store. Here is what it looked like before. When I had first purchased it I really liked the fabric (which was in great shape) and thought I would just keep it as is. My client didnt love the retro fabric, which wasn't an issue since I only paid 20 dollars for it.
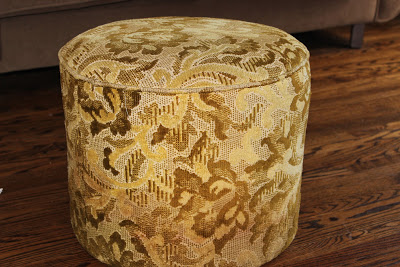
When I purchase it, the very helpful man who worked there recommended that I just make a cover to go over top instead of removing the existing fabric. He said that it was typical that these were made of pressed cardboard and were held together by the fabric. So I didn't want a complete mess on my hand so I made a slip cover to go over top and tacked it to the base.

I purchased the the ikat fabric from my local fabric store for 24 dollars, and this ottoman is to go beside the chair I upholstered and shared with you last week. The total cost of this project was just 44 dollars.
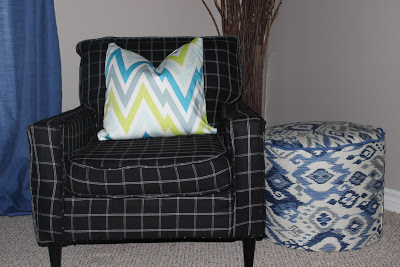
I had left over fabric from the drapery that you see in the above photo, and used it to make piping. We will be using it as more of a side table by placing a tray on it, but it can still be pulled out and used as an ottoman if needed.